
A Builders' Guide to Designing a Mesh Banner
A practical guide to designing bold, compliant, wind-smart banner mesh for Australian construction sites.
Banner Mesh • 8 min read • Builders Signs
Designing a banner mesh sign is not like designing a normal banner. The material is perforated, full of tiny holes that let wind pass straight through so the sign doesn’t act like a sail and pull your fence over. So your artwork has to be bolder and simpler than usual: fine detail drops out, colour reads softer, and the sign is almost always read from a distance and at speed.
Get the few things below right and your mesh works hard for you. This guide covers choosing the mesh, sizing it to your fence, making it legible, keeping it compliant, and getting your artwork print ready.

Quick Reference
| Attributes | Premium | Standard | Windmesh |
|---|---|---|---|
| Weight | 330 gsm | 270 gsm | 250 gsm |
| Airflow | ~15% (ultra-tight) | ~30% (balanced) | ~50% (max ventilation) |
| Weave | 12 TPI | 9 TPI | 6 TPI |
| Best for | Luxury/retail, photographic art | Housing & commercial sites | High, exposed, windy sites |
- Material: polyester scrim coated in plasticised PVC
- Standard temp-fence panel: 2.4 m x 1.6 m, printed up to 5 m wide (wider joins seamlessly)
- Eyelets: nickel-plated, every 500 mm or every 1000mm
- Wind-rated to roughly 60 km/h
- 100% free design with a digital proof before printing
- Turnaround: 3 to 10 business days
Step 01 - Choose the right mesh for your site
The most important spec is airflow: how much of the surface is open hole versus printed material. More airflow means less wind load but softer print. Less airflow means richer print but more wind to manage. Match it to your site:
Premium (330 gsm, ~15% airflow): the tightest weave and best print quality, with vivid colour and minimal see-through. Best where the artwork is detailed or photographic and the site isn’t brutally exposed.
Standard (270 gsm, ~30% airflow): the balanced, all-rounder choice for most housing and commercial sites. Strong image with sensible wind behaviour.
Windmesh (250 gsm, ~50% airflow): maximum ventilation for high, exposed or windy sites. Print looks a little more open, so keep the artwork bold and simple.

330 GSM
~15% Airflow

270 GSM
~30% Airflow

250 GSM
~50% Airflow
Weave Density vs Airflow
Tighter weave (left) gives the best print but catches more wind; a more open weave (right) lets wind through on exposed sites
Rule
The windier and taller the site, the more open the weave you want. Don’t fight the wind with a tighter mesh, choose a more open one.
Step 02 - Size it to your fence
Most construction mesh is built to standard temporary-fence and scaffold dimensions, so work to those and keep your cost down:
- Temp-fence panel: 2.4 m wide x 1.6 m high is the standard single panel (the print sits at about 1.55 m once the edges are reinforced).
- Heights: 1.6 m and 1.8 m are the common fence and scaffold heights.
- Width: we print up to 5 m in one piece; anything wider is supplied in panels that join seamlessly.
- Eyelets: nickel-plated, spaced every 500 mm, so the banner ties off cleanly and evenly.
Design your artwork to the finished panel size and let the eyelets and hems sit in a clear border (more on that in Step 5).

Step 03 - Design for the viewing distance
This is the step every competitor skips, and it’s the one that decides whether your sign can be read. Letter height is governed by how far away your audience is. The Australian standard for safety signage, AS 1319-1994, sets the legal floor: at least 5 mm of uppercase letter height for every metre of viewing distance (4 mm for lowercase). For a banner read by passing traffic, design above that floor for comfort.

| Viewing Distance | AS 1319 Minimum (Uppercase) | Legibility at Speed |
|---|---|---|
| 5 m (close fence line) | 25 mm | ~40 mm |
| 10 m | 50 mm | ~85 mm |
| 20 m (across a footpath) | 100 mm | ~170 mm |
| 30 m (across a road) | 150 mm | ~250 mm |
| 50 m (across a traffic) | 250 mm | ~420 mm |
AS 1319 also requires letters and sign area to be increased by at least 50% in poor light or where the sign isn’t in the direct line of sight. Decide your real viewing distance first, then size your most important line of text to suit. If it won’t fit, cut words until it does.
Step 04 - Make it readable: contrast, fonts, and the screen-door effect
Because up to half the surface can be open hole, mesh mutes colour and swallows fine detail. This is the screen-door effect. Compensate by designing bolder than you think you need:
- Maximise contrast. Dark text on light, or light on dark. Mid-tone on mid-tone disappears at distance.
- Push your colours a little richer than the final should look, because the perforations soften them outdoors.
- Use heavy, simple fonts. Avoid thin or script type, strokes under about 3 mm, drop shadows, and gradients.
- Don’t put small text over a busy photo. A bold full-bleed image can work; fine text on top of it won’t.
- One clear primary message. A passer-by should get it in about five seconds.
- Images will wash out. Reconsider using images as they never look as good as you think.
Step 05 - Keep critical content in the safe zone
Banner mesh is finished with reinforced, welded or stitched hems and eyelets punched around the edge. Keep your important content clear of all of it:

- Hold logos and key text inside a safe margin of at least 100 to 150mm from every edge.
- Nothing important in the corners or along the very edge, where eyelets punch through.
Step 06 - Wind safety: don't cut wind holes
It’s tempting to cut holes in a banner to let the wind through. Don’t. Backed by a University of Queensland study, our position is that cut wind holes are virtually ineffective:
- They only work when wind hits from one specific direction.
- They look messy and add cost.
- The right fix is a more open weave (Step 1), not cutting up a tight one.
It’s also a safety issue. Under AS 4687:2022, attaching mesh to a fence can increase the wind load by up to 300%, which can double the ballast each panel needs and make bracing mandatory. Over-tight mesh on an under-weighted fence is the most common cause of fences toppling on site. Match the mesh to the exposure, and ballast or brace the fence properly.
Step 07 - Supply your artwork the right way (or let us design it free)
To print sharp at large format:
- Vector files (PDF, EPS, AI or SVG) wherever possible, because they scale without going fuzzy.
- CMYK colour (not RGB), with fonts outlined.
- If raster only, supply the highest resolution you have at print scale.
- QR codes: make them at least 150 mm x 150 mm. Smaller and the mesh holes stop them scanning. Use SVG files that allow us to scale them without losing definition.
- Images: The minimum for images (including logo files) is 30ppi at 100% or 300ppi at 10%.
Not a designer? You don’t need to be. Builder’s Signs includes 100% free design. Send your logo and site details, even a rough sketch or a photo of an old sign, and our in-house team will lay out a bold, compliant, correctly-sized banner and send you a digital proof before anything prints.
Common Banner Mesh Design Mistakes
- Cramming in too much text
- Letters too small to read at the real viewing distance
- Low contrast that vanishes outdoors
- Fine detail or small text over a busy photo
- Critical content too close to the edges and eyelets
- Designing for the screen instead of a 30 m view
- Choosing a tight weave for an exposed, windy site
- Cutting wind holes instead of choosing an open weave
Pre-Flight Checklist
- Mesh weave matched to the site's wind exposure
- Sized to a standard fence or scaffold dimension
- Primary text meets the height for your viewing distance
- High contrast, bold fonts, one clear message
- Logo and company name prominent
- Critical content inside the safe margin
- Supplied as vector, CMYK, fonts outlined; QR at least 150 mm
Frequently asked questions
What is banner mesh?
Banner mesh is an outdoor sign made from perforated PVC-coated fabric. It’s a printed weave with thousands of small holes that let wind pass through, so it can be fixed to construction fences and scaffolds without acting like a sail.
What GSM or mesh should I choose?
Match it to your site’s wind exposure. Premium (330 gsm, ~15% airflow) gives the best print for detailed art on sheltered sites; Standard (270 gsm, ~30%) is the balanced choice for most sites; Windmesh (250 gsm, ~50%) is for high, exposed, windy locations.
How big should a banner mesh sign be?
Work to standard fence sizes. A single temp-fence panel is 2.4 m x 1.6m, with 1.6 m and 1.8m the common heights. We print up to 5 m wide in one piece and join wider runs seamlessly.
How big do the letters need to be?
At minimum, 5mm of uppercase height per metre of viewing distance, so 50 mm at 10 m and 150 mm at 30 m. For traffic read at speed, design larger (roughly double).
Do I have to include my builder's licence number?
We make most of our banners without builders license numbers. It is compulsory for site compliance signage.
Should I cut wind holes in the banner?
No. Cut holes are largely ineffective (they only help from one wind direction) and add cost. Choose a more open weave instead, and ballast or brace the fence to suit.
What file format should I send?
Vector (PDF, EPS, AI, SVG) in CMYK with fonts outlined is best. Only have a logo image? Send the highest-resolution version you have and our free-design team will take it from there.
FREE Banner Mesh Design
Send your logo and site details. We design it, you approve a proof, we print. No design software needed.
IN THIS GUIDE
OUR PRODUCTS
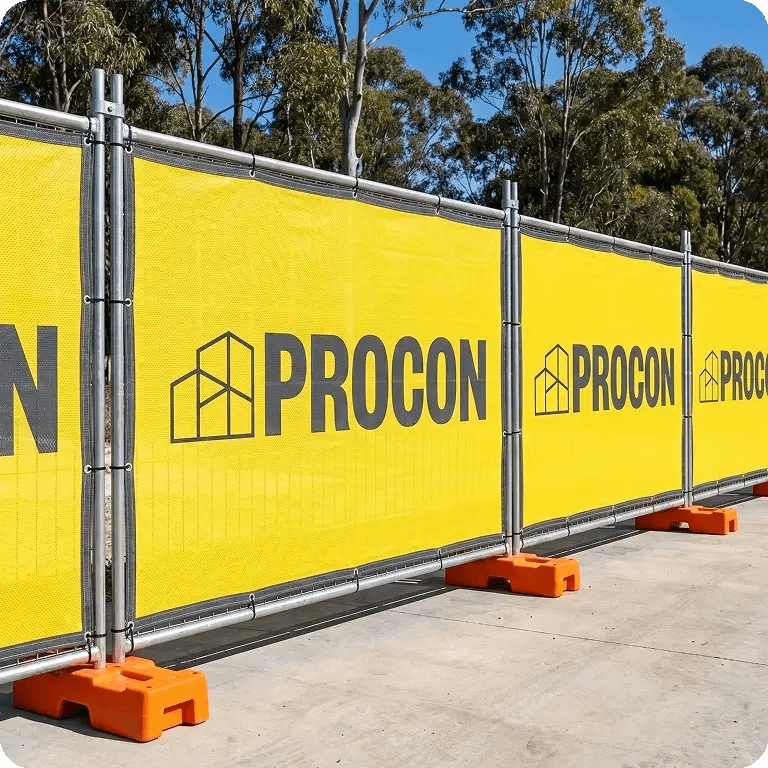
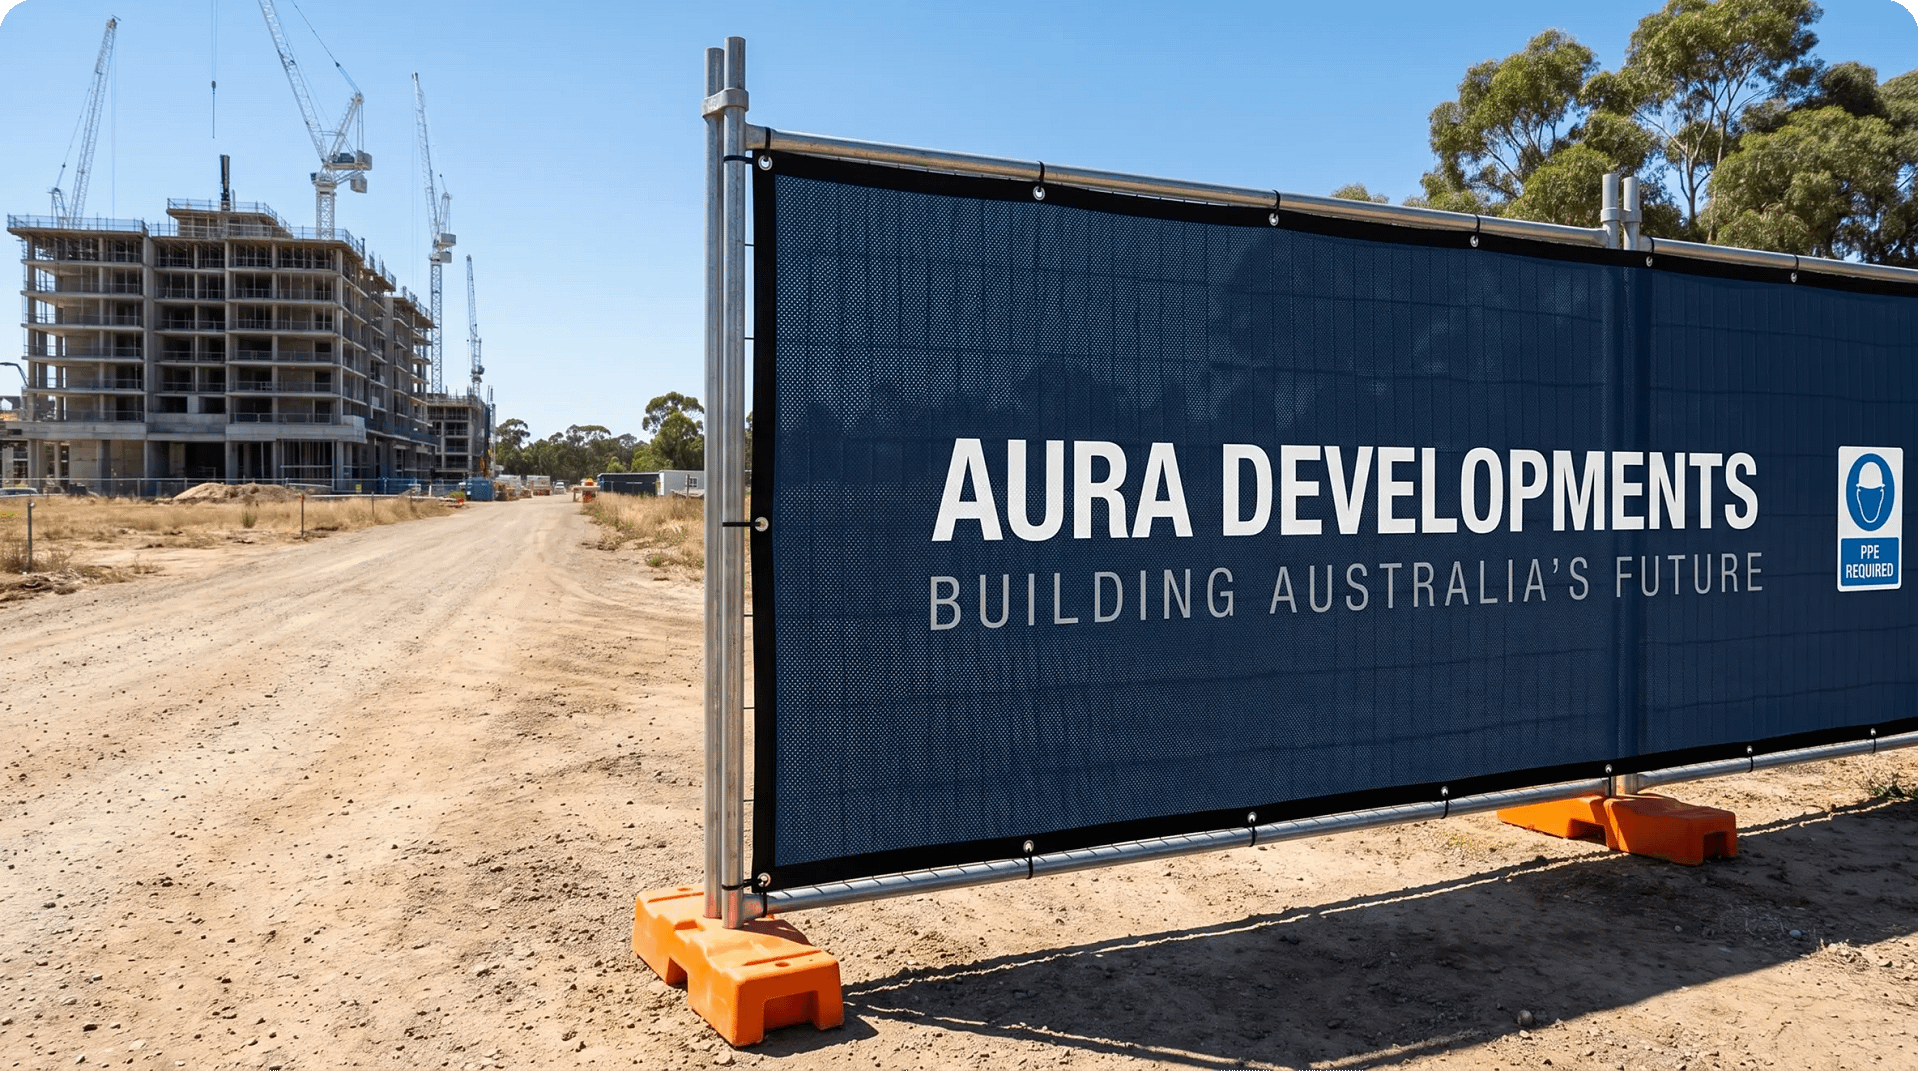
Banner Mesh on Real Sites


Design your Banner
Mesh with Builders Signs
Send us your logo and site details and our team will design a bold, compliant, ready-to-print
banner mesh sign, free, with a digital proof before you commit.
Standards & sources referenced: AS 1319-1994 (safety sign legibility); AS 4687:2022 (temporary fencing & hoardings, wind load); QBCC Act s.52 (QLD site signage); NSW Home Building Regulation 2014 + WHS Regulation 2017; VIC Building Regulations 2018. Mesh specs from the Builders Signs and Focus Banners product pages. University of Queensland wind-hole study referenced via Builders Signs’ published guidance. (Full hyperlinked citations to be added on publish.)